June 22, 2026
How to Integrate SoilSense Soil Moisture Data Using Our API and Webhooks
A practical guide to connecting SoilSense to the tools you already use — read soil moisture data with our REST API and receive live readings via webhooks.
Most soil moisture sensor systems are a walled garden: your data goes in, but getting it back out for your own tools is an afterthought. SoilSense takes the opposite view. SoilSense provides an easy-to-use REST API and real-time webhooks, so your soil moisture data can flow into any system you already run — farm-management software, BI dashboards, irrigation controllers, or a simple spreadsheet.
This guide walks through how to connect SoilSense to your own systems, with practical examples for both pulling data on demand and having it pushed to you the moment it arrives.
What you can access
With your data open, the readings your sensors collect become building blocks you can use anywhere. Through the API you can read:
- Volumetric water content (soil moisture) at every sensor depth
- Soil temperature and salinity
- Plant-available water (PAW) — the metric that actually tells you when to irrigate
- Precipitation from connected rain gauges
- Your farms and observation sites, their configuration, and the full measurement history
- The latest reading for any site, for live status checks
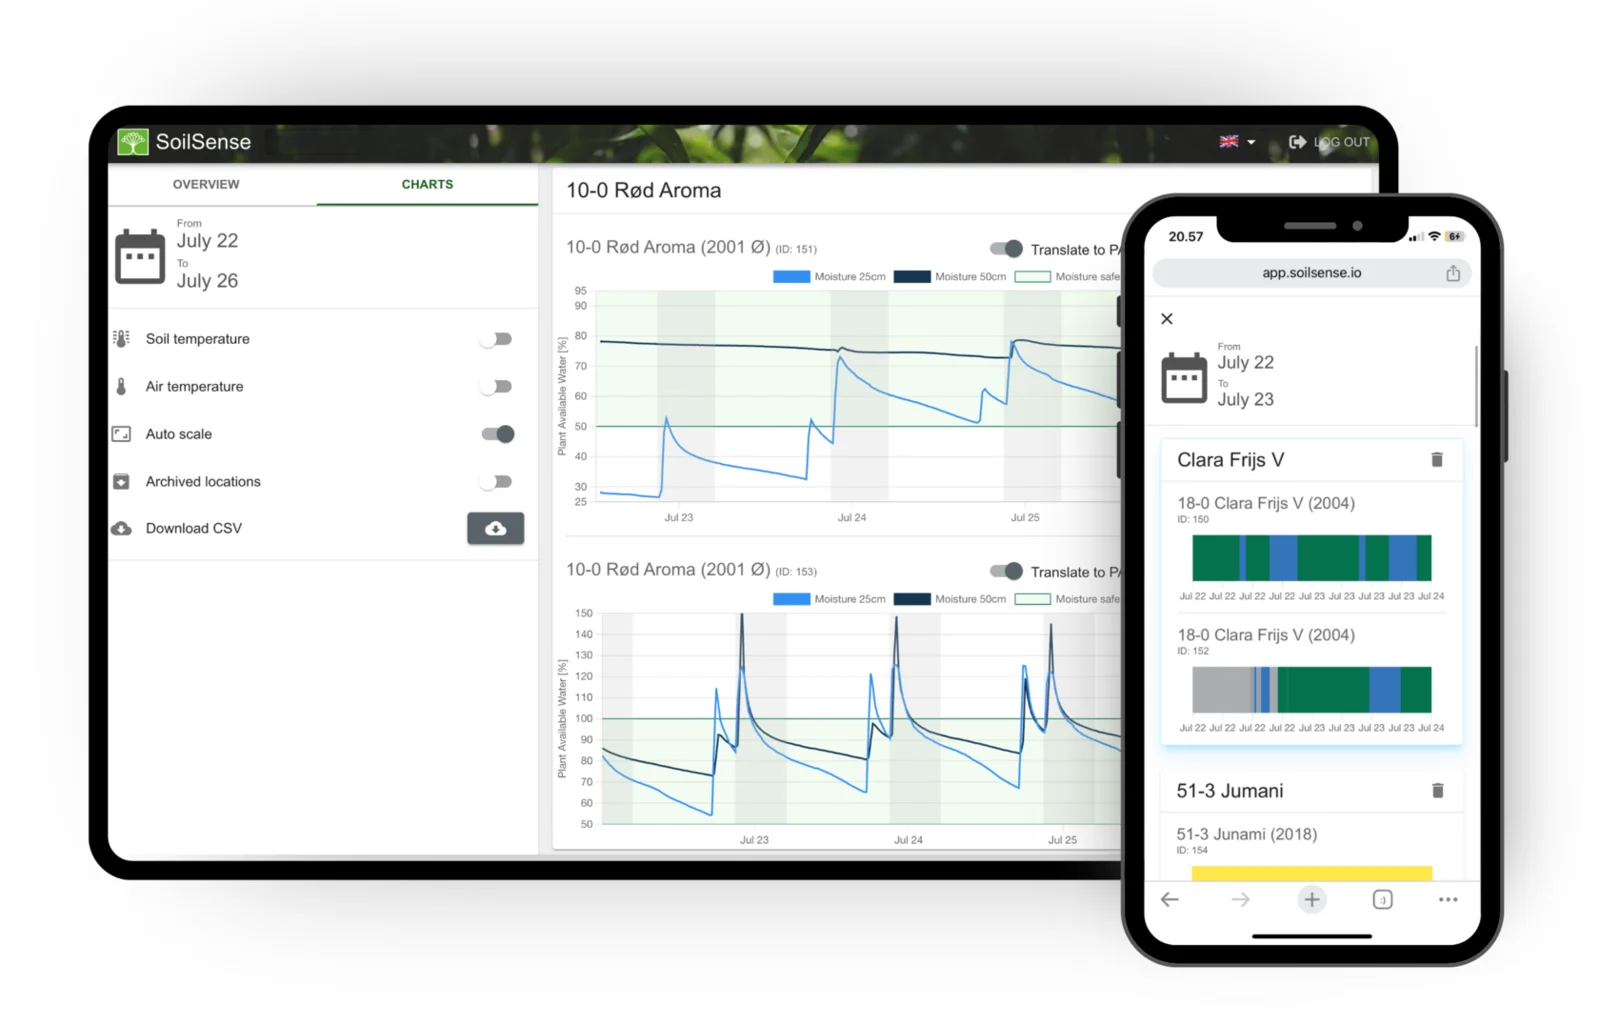
It is the same data you see in the SoilSense dashboard, available programmatically.
Step 1: Create an API key
The API uses simple API-key authentication. Create a key in your SoilSense account settings and treat it like a password — keep it secret and out of client-side code and public repositories.
Every request carries the key in an x-api-key header. That is the whole authentication story: no OAuth dance, no tokens to refresh.
Step 2: Make your first request
With a key in hand, a request is a single line. Here it is with curl:
curl https://api.app.soilsense.io/<endpoint> \
  -H "x-api-key: $SOILSENSE_API_KEY"
The same call from JavaScript:
const res = await fetch("https://api.app.soilsense.io/<endpoint>", {
  headers: { "x-api-key": process.env.SOILSENSE_API_KEY },
});

const data = await res.json();
console.log(data);
The API reference lists every endpoint — farms, observation sites, observations, precipitation, and the latest reading — with the exact paths and parameters. The pattern above is identical for all of them; only the path changes.
Step 3: Work with the data
Responses come back as clean JSON, so you can drop them straight into whatever you are building. A latest-reading response looks roughly like this:
{
  "timestamp": 1640995200000,
  "rssi": -75,
  "data": {
    "top": {
      "volumetricWaterContent": 25.5,
      "temperature": 18.5,
      "plantAvailableWater": 75.2,
      "salinity": 0.45
    }
  }
}
Readings are grouped by sensor depth (top, mid, and so on), with timestamp in milliseconds since the epoch and moisture values as percentages. From here it is ordinary code. Append the row to a database, post it to a Slack channel when PAW drops below a threshold, write it to a Google Sheet, or forward it to your irrigation controller. Because the full history is available too, you can backfill a dashboard or export everything into a data warehouse whenever you like — your data is never locked in.
Get data pushed to you with webhooks
Polling the API on a schedule works, but for live integrations it is wasteful. Webhooks flip the model around: instead of you asking for data, SoilSense sends it to an endpoint you control the moment something happens. There are two kinds.
Telemetry webhooks deliver new sensor readings as they arrive — the right choice for live dashboards, automated irrigation, and alerting.
Attributes webhooks fire when an observation site is created or changed, so your own records stay in sync without anyone re-keying anything.
You point a webhook at a URL in your system, and from then on each event is an HTTP POST with a JSON body. Handling one is as simple as any other route:
app.post("/webhooks/soilsense", (req, res) => {
  const event = req.body;
  // e.g. store the reading, update a dashboard, trigger irrigation
  saveReading(event);
  res.sendStatus(200);
});
Verifying webhooks are genuine
Because a webhook endpoint is a public URL, you should confirm each request really came from SoilSense. Webhooks support an optional HMAC-SHA256 signature, sent in a SoilSense-Signature header (formatted as t=<timestamp>,v1=<hmac>). SoilSense signs the payload with a shared secret; you recompute the HMAC on your side and compare. In Node.js:
import crypto from "node:crypto";

function isFromSoilSense(rawBody, signature, secret) {
  const expected = crypto
    .createHmac("sha256", secret)
    .update(rawBody)
    .digest("hex");
  return crypto.timingSafeEqual(
    Buffer.from(signature),
    Buffer.from(expected),
  );
}
If the signatures match, the request is authentic. If they do not, reject it. Use a constant-time comparison (as above) so the check itself does not leak information.
What you can build
A little glue code connects soil moisture data to the rest of your operation:
- Farm-management software — bring soil moisture and plant-available water into the platform where you already plan irrigation.
- Automated irrigation — start, stop, or fine-tune controllers from live readings and drying alerts.
- BI and reporting — feed dashboards, spreadsheets, and reports for water-use accounting and compliance.
- Custom alerts — route readings into your own notification, automation, or analytics pipeline.
Security and rate limits
A quick checklist before you ship an integration:
- Keep your API key server-side and out of version control.
- Verify webhook signatures with HMAC-SHA256 and reject anything that fails.
- The API enforces per-key rate limits, so batch historical pulls and lean on webhooks for anything that needs to be live.
Start building
Open data is the difference between a sensor you read once a day and a system that quietly powers the tools you already rely on. If you want to connect SoilSense to your own stack, everything you need is ready:
- Read the full API and webhooks overview
- Dive into the API reference and examples
Have a specific integration in mind? Get in touch — we are happy to help you get the most out of the API and webhooks.
Try it on your soil
Start a 60-day risk-free trial
Run SoilSense on your own fields for 60 days. Full refund guaranteed if it doesn't earn its keep.
Full refund guaranteed